Gallery Page Two: More Lessons Learned

Greyscale Bribery Works
This is my 6th year of teaching grade 10 and I have noticed that they are typically (no, ALWAYS) too cool to dress up for spirit days. I always moan and complain about this but never really have any say in the matter because I'm not a homeroom teacher. This year, though, I got my homeroom and I bribed them; every student in my homeroom who dressed up for spirit day would get a cookie. Well, 21/22 kids dressed up. These cools are bigger than my hand, BTW.
Lessons Learned: 1. Royal icing comes out perfectly every time if you use the Wilton meringue powder. 2. Royal icing can be treated like colour flow and uses the same colour flow rules. Make a normal royal icing batch and then add water. Wait until you can drop a spoonful, count to 15, and see when it disappears. Now it's ready to be used. 3. The colour flow doesn't cover your outlining mistakes, so make sure your outline is well done. 4. The cookies need to sit outside the fridge overnight or else they won't set. Some of the black letter smeared when I pulled off the saran warp the next morning. 5. The black royal icing stains everything - the counter, the spatula, the mixer, your hands... 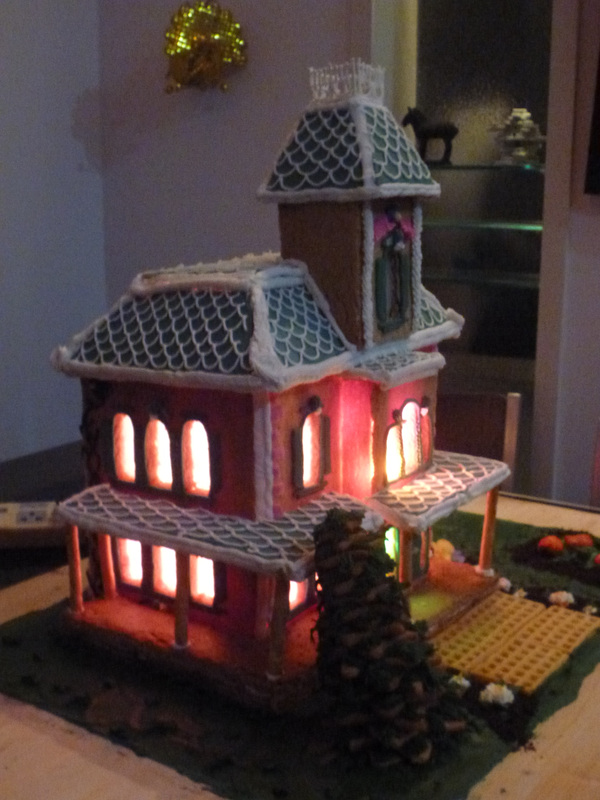
Gingerbread House
It's good in a way... I decided to teach myself how to make gingerbread houses by doing the hardest pattern I could find. I did *everything* complex possible. I had lighting. I had porches. I had 3 levels. I had royal icing piping. I had fondant modeling. I went "whole hog" on this thing and b'y, did I ever learn a lot! Many of the lessons I learned were good, affirming lessons. Some of the lessons were "D'oh" moments.
Lessons Learned: 1. Trim immediately after the dough comes out of the oven. Sit a bowl of cold water beside the piece so that you can dip your fingertips periodically. 2. Don't leave the pattern paper on while baking! 3. Have patience. Some pieces need to sit overnight to let them dry - Do it! 4. Make a blueprint for your wiring so that you can pre-cut the holes in your pieces. 5. Make a colour scheme and a landscaping scheme before you even start. When you are nearing the finish and are exhausted, that's NOT the time you want to have to suddenly think about colours and creativity. |
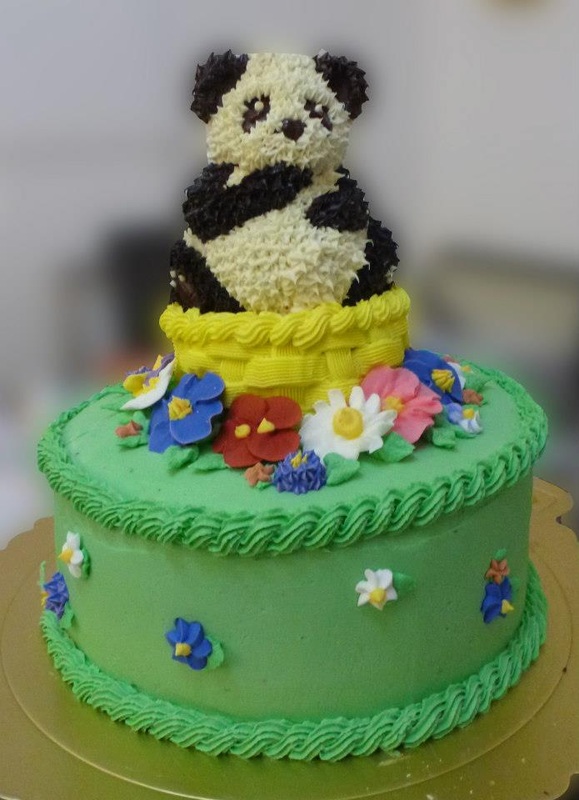
Golden Week Panda
This was my very first stacked cake and so I was very nervous. I made sure I told enough people I was going to do it so that I couldn't chicken out and not try. In the end, it turned out very well and the staff loved it.
Bottom: Heart Tasty Fill Pan (there should be a surprise inside, if I did it right). #18 rope border. Middle: Small spring-form cake. #18 rope with #48 basketweave. Top: Wilton Bear Pan decorated with tip #14. Royal Icing Flowers: Drop flowers, carnations, apple blossoms, daisies, primroses, bachelor buttons, rose buds, sweet peas and pansies. Lessons Learned: 1. Decorating is sometimes just about covering up your mistakes. I knew the bottom needed something more and I had crumb spots, so I solved two problems at once by strategically placing drop flowers. 2. Sudden temperature changes are as bad as steady hot temperatures. The day was not hot or humid, but out of paranoia I kept the cake in my fridge. When I pulled it out, the change between the fridge and room temperature caused the royal icing flowers to start to melt. I turned up the temperature in the fridge. Again... why haven't I purchased a cooler yet? Climate Change Cookies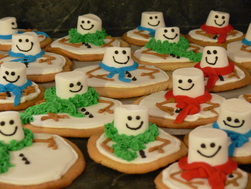
I got this idea from YoYoMaz12 on YouTube. The original idea came from The Decorated Cookie. The recipe originally said to take a golf ball of dough and to flatten that out in your hands. This resulted in massive sized cookies that I thought were far too big. Then I used a normal-sized circle cookie cutter. However, once I added the marshmallows and scarves, I realised there was very little room left for buttons and arms. The bigger cookies were the best, after all.
Notes: - 1 batch of dough = 25 cookies - baked 9 minutes at 190C / 375F - marshmallows cooked for 12 seconds on H - red, blue, and green icing used for the scarves, then recoloured for the twig arms, buttons, and facial features. |
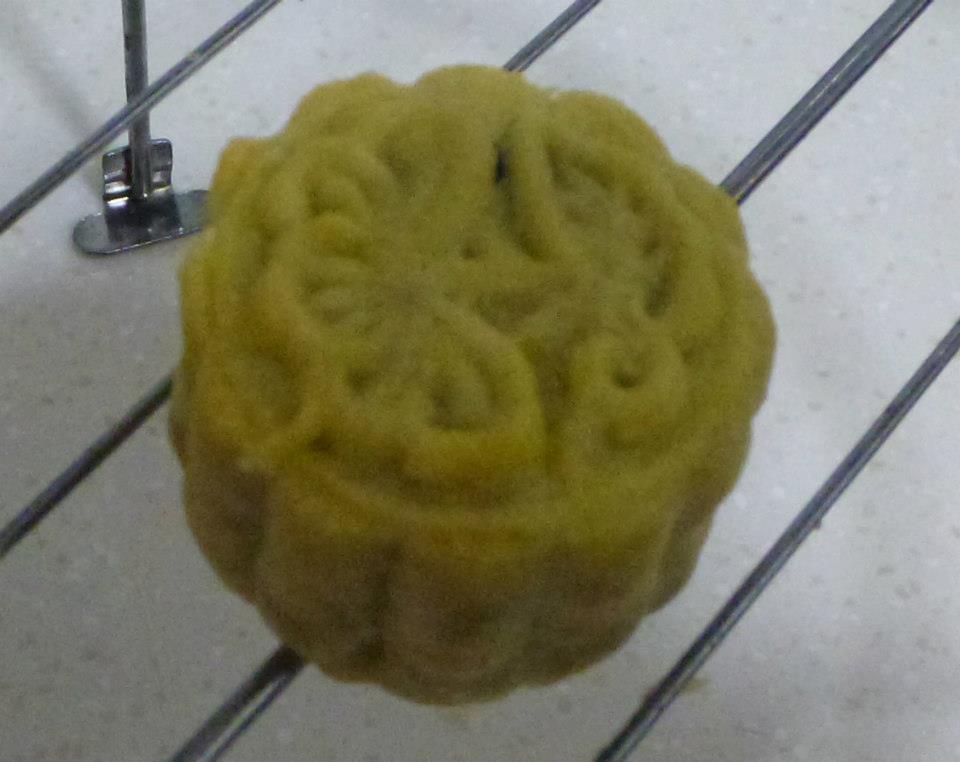
Moon Cake Illness
Traditional moon cakes taste strange to foreigners - not because they are awful, but because we haven't the taste buds required for this delicacy. Imagine biting into a tasty, sweet scone, and instead of getting something lovely and sweet, you get a salted duck egg. See? Now you know what I mean.
I literally tried 10 batches of moon cakes until I got one batch that worked. The lessons learned from this are huge: Lessons Learned: 1. The inside needs ingredients that do not expand. Try cake pops or crushed oreos with frozen berries. 2. The outside shell cannot contain eggs. 3. If you use the traditional recipe for the shell, they taste sweeter but they melt in the oven. If you use a vegan pie crust recipe for the shell, they keep a perfect shape, but are savory. 4. Don't use an egg wash. Your moon cakes won't look as pretty, but your image will stay clearer. 5. Every time you eject a mooncake from your mold, immediately stick it in the fridge. The humidity will cause your moon cakes to melt and you want them staying nice right up until baking. **** 6. Make a new filling batch every time. I used an old filling batch and was up sick in the night. |
<---- Back to Page One